What Is Coving?
Coving is a decorative moulding that creates a smooth, curved transition between the top of an interior wall and the ceiling. Often made from plaster or modern lightweight materials like polystyrene, this architectural feature serves both aesthetic and practical purposes. Aesthetically, it adds a touch of elegance and character to a room, framing the space and drawing the eye upwards. It can soften the hard right angle where walls meet the ceiling, providing a more finished and sophisticated appearance. This is particularly effective in spaces aiming for a traditional or classic feel, where ornate plaster coving can complement other period features.
Functionally, coving can cleverly conceal settlement cracks that commonly appear at the wall-ceiling junction. It also helps to hide uneven plastering, providing a clean line that masks imperfections. By painting coving, you can enhance these benefits, integrating it seamlessly into your décor or turning it into a standout feature. The process of painting coving is a key step in any redecorating project, offering endless design opportunities to elevate the look and feel of your living space. Properly finished coving is more than just a trim; it’s a fundamental element of interior design that contributes to the overall cohesion and style of a room. Whether you are installing new coving or refreshing an existing one, understanding how to paint coving is essential for achieving the best possible finish. While installing it can be a DIY task, achieving a flawless result, especially in period properties, often requires professional coving fitters in London.
How Should You Prepare Coving for Painting?
Proper preparation is the most critical stage in learning how to paint coving. It is the difference between a professional-looking paint job and one that highlights imperfections. Rushing this step will compromise the final result, so dedicating time to thoroughly preparing the surface and the room is essential for achieving a beautiful smooth finish.
First, protect your surroundings. Before you even think about opening a can of paint, cover the floor and any nearby furniture with a dust sheet. This simple action will save you a significant amount of cleaning time later and protect your belongings from accidental drips and splatters.
Next, focus on the coving itself. Over time, coving accumulates dust, cobwebs, and airborne grime. Use a soft brush or the brush attachment of a vacuum cleaner to remove loose debris. For older or dirtier coving, especially in kitchens, you may need to wipe it down with a damp cloth and a mild sugar soap solution to remove any grease. Ensure the surface is completely clean and dry before proceeding to the next step.
Once clean, carefully inspect the entire length of the coving for any cracks, gaps, or imperfections. Pay close attention to the edges where the coving meets the walls and ceiling, as well as any joints or corners. Fill these gaps with a flexible decorator’s caulk for a seamless transition. For any dents or chips in the plaster, use a suitable filler. After the filler or caulk has fully cured according to the manufacturer’s instructions, lightly sand the repaired areas with fine-grit sandpaper to create a perfectly smooth surface that blends with the rest of the coving.
The final and perhaps most important preparation task is applying masking tape. To achieve crisp, clean lines and avoid paint mismatches, run a high-quality masking tape along the bottom edge of the coving where it meets the walls. Do the same for the top edge where it meets the ceiling. Press the masking tape down firmly to create a tight seal, which prevents the paint from bleeding underneath. For larger areas, you can use masking film, which combines tape with a protective plastic sheet. This meticulous process ensures that your coving painting project looks sharp and professionally executed.
What Tools and Supplies Do You Need to Paint Coving?
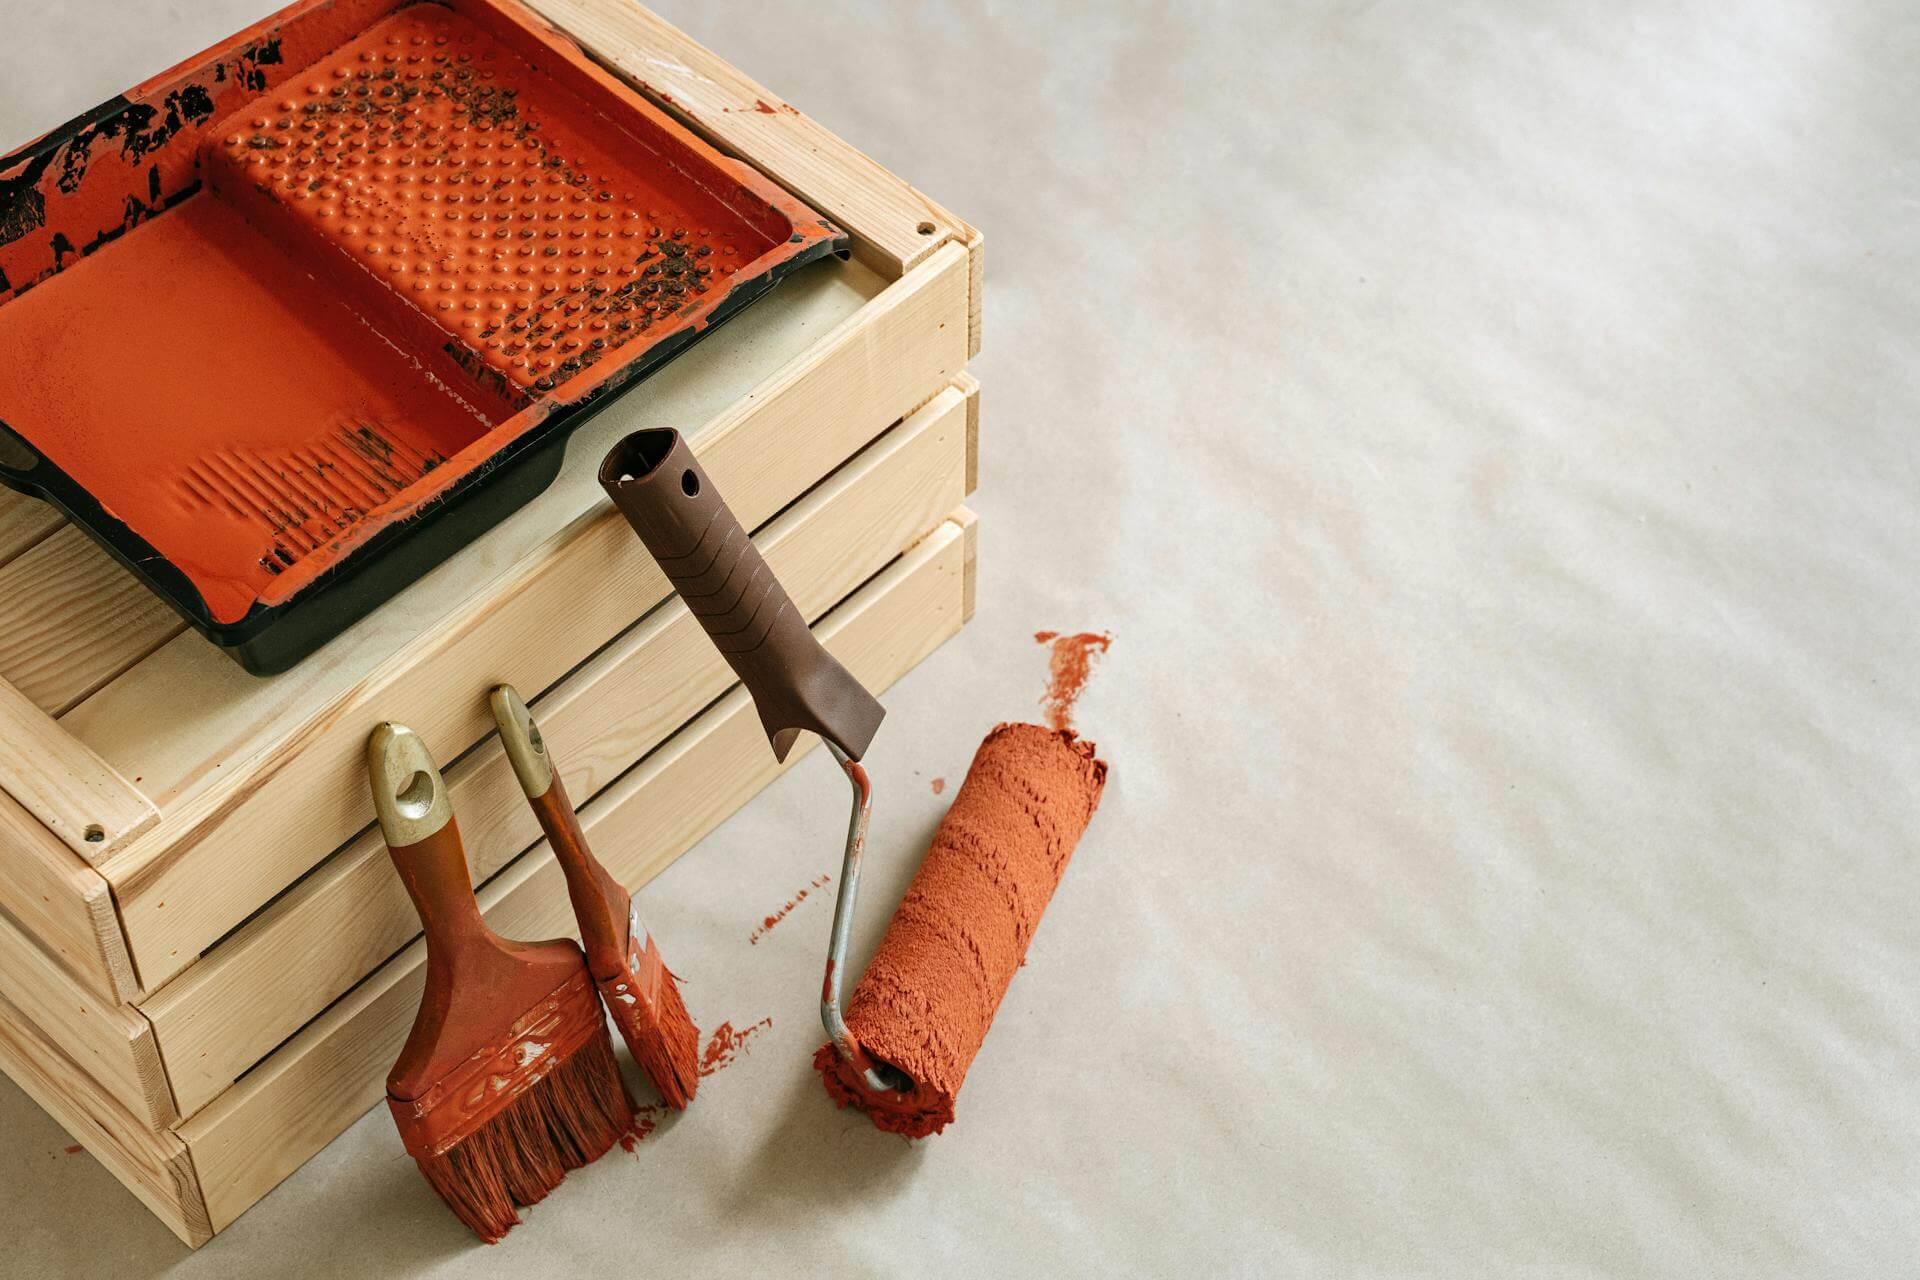
Having the right tools is fundamental for an efficient and successful decorating project. Gathering everything you need before you start painting prevents interruptions and helps you maintain a smooth workflow. For painting coving, you don’t need highly specialised equipment, but selecting the correct type of brush and supplies will make a significant difference to the quality of your finish.
Here is a comprehensive list of the tools and supplies we recommend for the job:
- Protective Coverings: A dust sheet is essential to protect your floor and furniture. Have some old cloths or rags on hand for wiping up any spills immediately.
- Preparation Materials:
- Decorator’s Caulk and Filler: To fill any gaps or cracks for a seamless surface.
- Fine-Grit Sandpaper: For smoothing down filler and any rough patches on the coving.
- Sugar Soap solution or Mild Detergent: For cleaning the coving surface before you paint.
- Masking Supplies:
- High-Quality Masking Tape: Essential for creating sharp, clean lines along the walls and ceiling. Investing in a good quality tape will prevent paint bleed.
- Masking Film: A great alternative that combines masking tape with a protective sheet, ideal for covering larger areas quickly.
- Painting Applicators:
- Paint Brushes: The choice of brush is crucial. For water-based paint, synthetic bristles are best. We recommend having two types:
- A 1.5 to 2-inch angled sash brush or rounded paint brush. Its shape is perfect for accurately ‘cutting in’ along the edges and navigating the curves of the coving.
- A slightly larger brush, such as a wide oval brush, can be efficient for applying paint to the main face of wider or flatter coving styles.
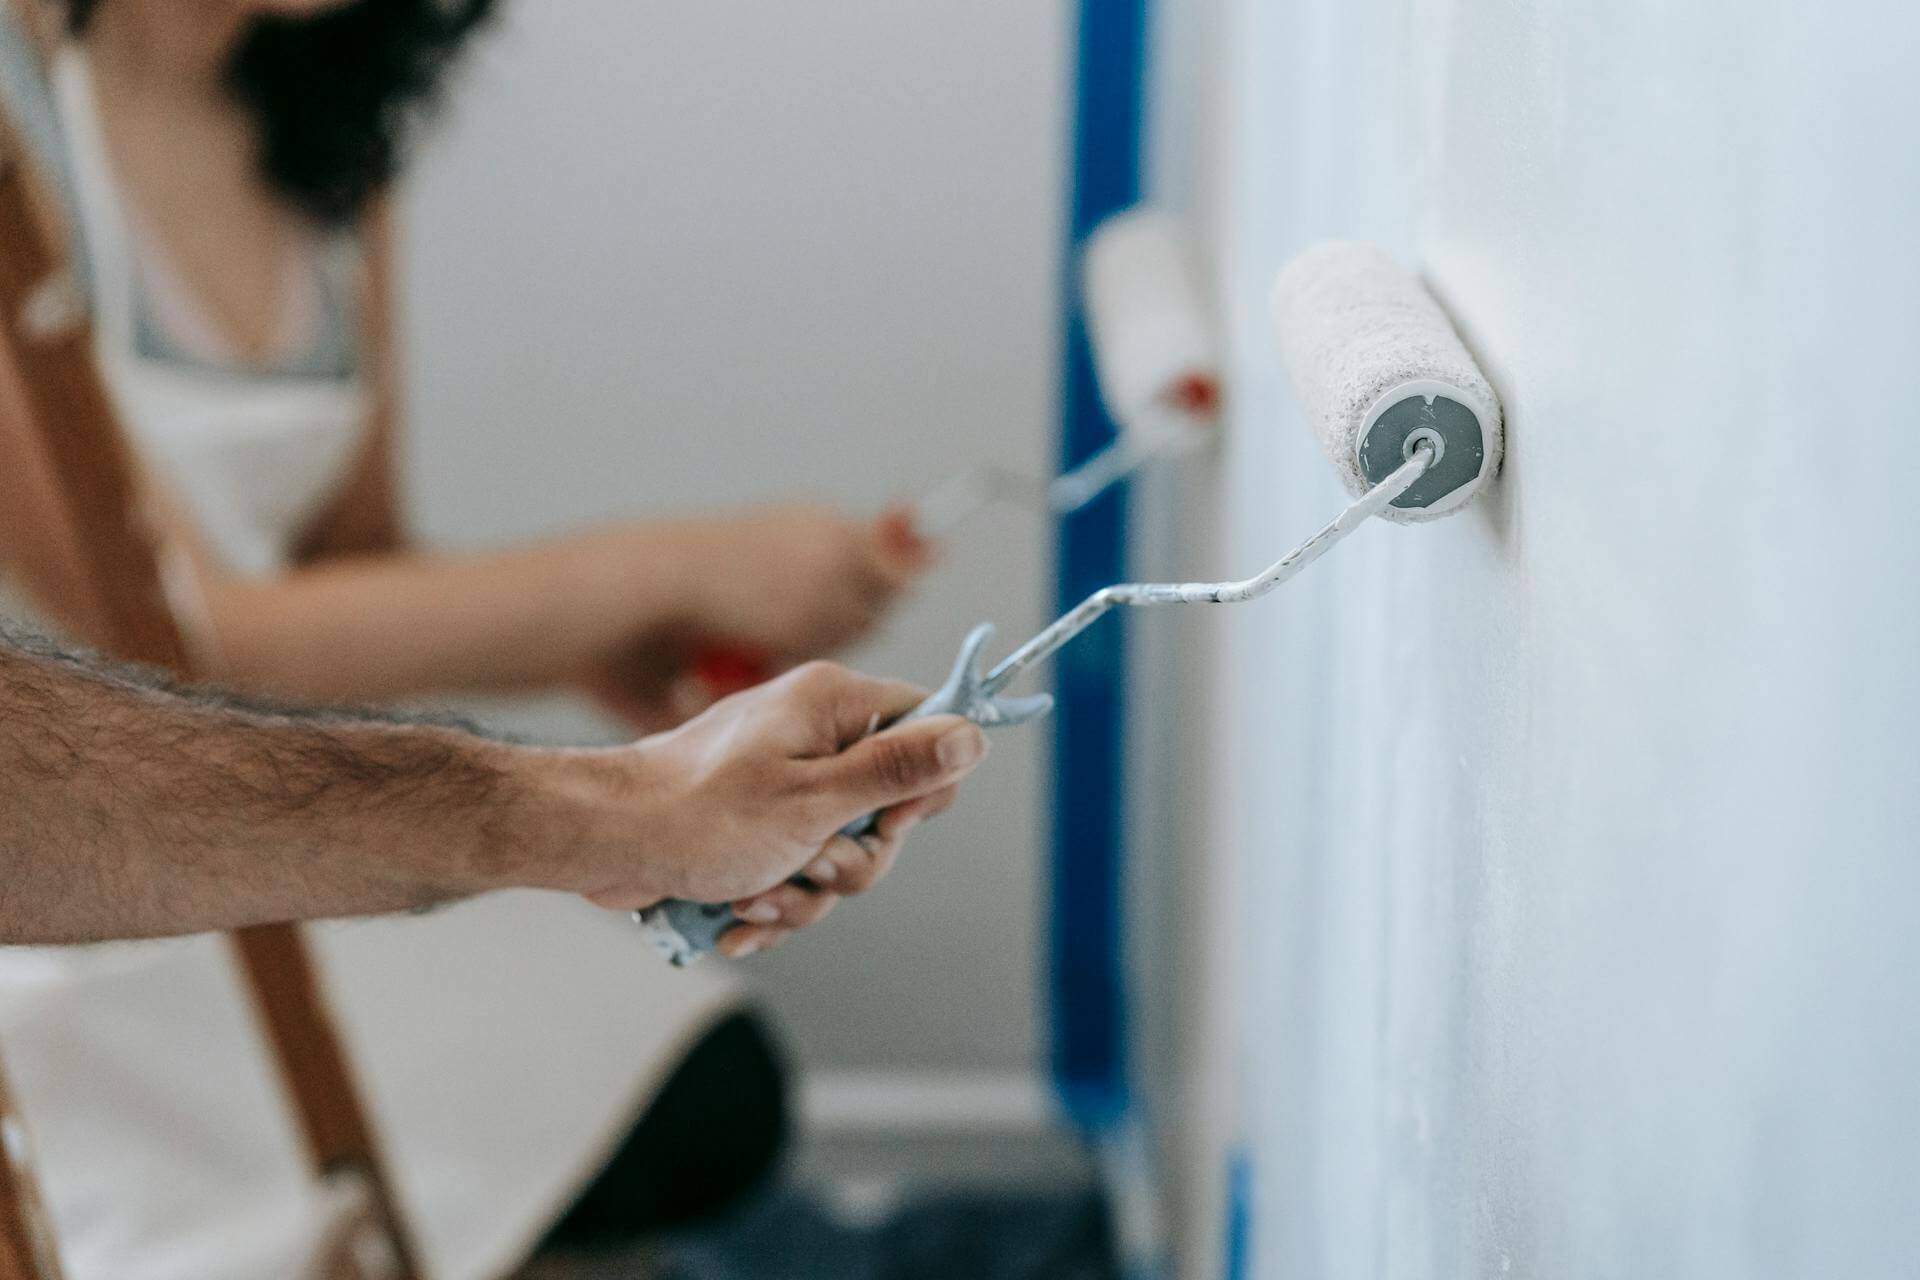
- Small Roller (Optional): For very simple, flat-faced coving, a small foam or microfibre roller can speed up the application on the main surface after the edges have been cut in. However, for most decorative coving, a brush provides better control.
- Paint Brushes: The choice of brush is crucial. For water-based paint, synthetic bristles are best. We recommend having two types:
- Paint Kettle and Stirrer: A small container (kettle) is easier to hold up at height than a full can of paint. Remember to stir your paint thoroughly before pouring it.
- A Sturdy Step Ladder or Platform: Ensure you can reach the coving safely and comfortably without overstretching.
What Types of Paint Work Best for Coving?
Choosing the right paint is just as important as the preparation. The type of paint and its sheen level will directly impact the final appearance of your coving, influencing everything from the perception of a room’s height to how forgiving the finish is on minor surface imperfections. The best paint for coving is one that enhances its features without drawing attention to flaws.
Should You Use Emulsion Paints on Coving?
Yes, absolutely. For almost all painting coving projects, a high-quality water-based paint is the ideal choice, and emulsion is the most common type. Emulsion paint is perfect for the porous surfaces of both traditional plaster and modern polystyrene coving. Its benefits include:
- Ease of Application: It flows smoothly from the brush and is easy to work with.
- Low Odour: Modern emulsions have very little smell, making the decorating process more pleasant.
- Quick Drying: Faster drying times allow you to apply a second coat sooner.
- Easy Clean-up: Brushes and any spills can be cleaned up simply with soap and water.
A matt emulsion is the most widely recommended option for coving, providing a contemporary, non-reflective finish that is excellent at hiding minor surface blemishes.
When Should You Use Gloss or Satin Finishes on Coving?
It is generally not recommended to use high sheen paint finishes like gloss or satin on coving. While these types of paint are highly durable and easy to clean, their primary characteristic is high light reflection. This shine will accentuate every tiny bump, crack, or imperfection on the coving surface, making them more visible.
This type of high sheen paint is better suited for other interior trim elements, such as skirting boards, door frames, and window sills. These areas benefit from the durability, but on the expansive, curved surface of coving near the ceiling, a glossy finish can look jarring and cheapen the overall effect.
What Paint Sheen is Best for Coving?
The sheen level refers to how much light the dried paint reflects. For coving, a lower sheen is almost always better. Here’s a breakdown of your best options:
- Matt: This provides a flat finish with the least sheen. It offers a modern, sophisticated look that diffuses light beautifully, which is perfect for concealing any slight unevenness in the plaster. This is the go-to choice for achieving the traditional coving look.
- Eggshell: If you want a finish with slightly more durability than matt, eggshell paint is an excellent alternative. It has a very subtle, low lustre that’s more resilient to scuffs and easier to wipe clean, but it’s still discreet enough not to highlight imperfections.
- Soft Sheen or Silk: These are mid sheen finishes. While more durable, a soft sheen finish has a noticeable shine. This increased light reflection can start to make surface flaws more apparent. We would only recommend a soft sheen if you are specifically trying to match the sheen of your walls and are confident your coving surface is perfectly smooth.
How Do You Paint Coving Step-by-Step?
With the preparation complete and your tools at the ready, you can now begin the rewarding process of painting coving. This step by step guide will walk you through the application process, from the initial base coat to the finishing touches, ensuring you achieve a professional-quality smooth finish.
How Do You Apply a Mist Coat to Coving?
A mist coat is an essential first step only if you are painting new, bare plaster coving. Of course, this raises the important question of exactly [how long after plastering you can paint](link do artykułu) to ensure the surface is properly cured. Bare plaster is highly absorbent, and applying a standard coat of paint directly can cause it to dry too quickly, crack, or peel off later. A mist coat seals the porous surface and provides a stable base for subsequent coats.
To create a mist coat, simply dilute your matt emulsion paint with water. There is no magic formula, but a good starting point is a ratio of 70% paint to 30% water. The mixture should be thin and milky, not watery. Apply one thin layer of this mixture over the entire surface of the coving with your brush and allow it to become completely dry.
How to Apply the First Full Coat of Paint
Once your mist coat is dry (or if your coving was already painted), it’s time to start painting with your undiluted emulsion.
- Stir Your Paint: Thoroughly stir the paint to ensure the colour and consistency are uniform.
- Start in a Corner: Begin in one of the corners of the room and work inwards along one length of the coving. This helps you maintain a “wet edge” and avoid unsightly join marks.
- Load Your Brush: Dip the top third of your brush bristles into the paint. Tap it gently against the side of the paint kettle to remove any excess paint; don’t wipe it flat, as this removes too much.
- Apply the Paint: Use your angled sash brush to “cut in” along the top and bottom edges first, right up to your masking tape. Then, use the larger brush (if using one) or the same brush to fill in the main curved section. Apply the paint with long, smooth strokes, aiming to coat evenly. Don’t press too hard. Let the brush do the work.
- Paint Gradually: Work in manageable sections of about one metre at a time. This methodical approach helps ensure a consistent finish. This first coat is your foundation.
How Do You Achieve a Straight Line When Painting Coving?
The secret to a razor-sharp line between your coving, walls, and ceiling lies in the ‘cutting in’ technique combined with proper use of masking tape. After carefully applying masking tape during preparation, your job is to paint right up to that edge.
A professional tip for the sharpest possible line is to remove the masking tape while the final coat of paint is still slightly tacky, but not fully wet. Pull it away from the painted edge at a 45-degree angle. If you wait for the paint to dry completely, you risk the film of the paint cracking and peeling off with the tape.
How Many Coats of Paint Does Coving Need?
For a durable and opaque finish, coving almost always requires more than one layer.
- First Coat: This is your base layer that covers the prepared surface. It may look patchy, which is perfectly normal.
- Second Coat: Applying a second coat is generally recommended. This coat will build up the opacity, deepen the colour, and eliminate any patchiness left from the first coat.
- Third Coat (Optional): You may need a third coat if you are painting a light colour over a very dark one, or if you notice any inconsistencies after the second coat has dried.
What Drying Time Should You Allow Between Coving Paint Coats?
Patience is a virtue in decorating. Each coat of paint must be allowed to dry properly before you apply the next. Applying a new coat to a wet surface will drag and tear the underlying layer, ruining your smooth finish.
The specific drying time can vary based on the type of paint, room temperature, and humidity. As a general rule, water-based paint is touch-dry in 1-2 hours, but you should wait at least 4-6 hours before applying a second coat. However, always refer to the manufacturer’s instructions printed on the paint tin for the most accurate recoating times.
What Are the Best Techniques for Painting Coving?
Knowing the step-by-step process is one thing, but mastering a few key techniques will elevate your project and help you achieve a truly professional, beautiful smooth finish. From brushwork to handling ornate details, how you apply the paint matters.
Should You Use a Brush or Roller for Painting Coving?
For painting coving, a brush is almost always the superior tool. We would always recommend painting your coving with a good quality brush because it offers unparalleled control. Coving has curves and defined edges, and a brush allows you to follow these contours precisely, ensuring the paint is worked into every part of the profile for a consistent finish. An angled sash brush or a rounded paint brush is specifically designed for this type of detailed work.
While a small mini-roller might seem like a faster option for wider, flatter coving styles, it can be clumsy. A roller struggles to get right into the top and bottom edges where the coving meets the ceiling and walls, and it can leave a slightly different texture compared to the brushed edges. This can lead to a patchy appearance. For the best and most uniform result, stick with a brush. For those with a very steady hand, it’s even possible to cut in free hand without tape, and a brush is the only tool that allows for this level of precision.
How Do You Paint Intricate or Textured Coving?
Ornate cornices or traditional coving with lots of intricate details require a slightly different approach. The key is to ensure the paint gets into all the small crevices without clogging them and obscuring the design.
- Use a Smaller Brush: A small brush with good quality, flexible bristles is essential for dabbing paint into tight corners and deep recesses.
- Don’t Overload the Brush: This is critical. Too much paint will pool in the details, resulting in a thick, lumpy finish. It’s better to apply two or three thin coats than one heavy one.
- Use a “Stippling” Motion: For very detailed sections, instead of a long smooth stroke, use a gentle dabbing or “stippling” motion. This pushes the paint into the pattern without building it up too heavily on the raised surfaces.
Can You Use a Paint Sprayer on Coving?
Yes, you can use a paint sprayer on coving, and for professional decorators working in an empty room, it can be a very efficient method for achieving a flawless factory finish. A sprayer applies a very fine, even mist of paint, which is ideal for covering intricate details perfectly.
However, for the average DIY project, the trade-off is the extensive preparation required. Overspray is a major issue, so you would need to meticulously mask off not just the adjacent walls and ceiling but essentially the entire room, including the floor and any openings. The time spent on this level of masking can often outweigh the time saved on application. For painting the coving in a single, furnished room, the precision and control of a brush is far more practical.
What Are Common Mistakes to Avoid When Painting Coving?
Knowing how to paint coving also means knowing what not to do. Avoiding a few common pitfalls can save you time, frustration, and the disappointment of a sub-par finish. By being aware of these potential mistakes, you can ensure your project goes smoothly from start to finish.
Here are the most common mistakes to avoid:
- Inadequate Preparation: This is the single biggest error. Painting directly onto dusty, greasy, or cracked coving will result in poor adhesion and a flawed finish. The paint will highlight, not hide, imperfections. Always take the time to clean, fill, and sand the surface properly before you begin.
- Skipping the Mist Coat on New Plaster: If you are painting coving made from new, bare plaster, applying undiluted emulsion directly is a recipe for disaster. The paint will likely crack and peel as it dries. A thinned-down mist coat is essential to seal the surface and ensure a lasting bond.
- Using Cheap Masking Tape: It can be tempting to save a few pennies on supplies, but low-quality masking tape is a false economy. It can allow paint to bleed underneath, leaving you with messy, fuzzy lines, or it can pull off the underlying paint from your walls or ceiling. Invest in a reputable brand for sharp, clean edges and to avoid paint mismatches.
- Overloading the Paint Brush: Loading your brush with too much paint leads to drips, runs, and an uneven, thick coat of paint that can obscure details in the coving. It’s far better to apply two or three thin, even coats than one thick one. Remember to tap off the excess paint before moving the brush to the coving.
- Rushing Between Coats: Patience is key. Applying a second coat before the first one is properly dry will drag and tear the underlying layer, ruining your smooth finish. Always respect the recoating time specified on the paint tin, even if the surface feels touch-dry.
- Choosing a High-Sheen Paint: As discussed earlier, glossy finishes are unforgiving. A high sheen paint will reflect light in a way that magnifies every tiny imperfection on the coving surface. Stick to a matt or eggshell paint for a sophisticated and flawless appearance.
Frequently Asked Questions About Painting Coving
Here are quick answers to some of the most common questions people have when learning how to paint coving.
What paint do you use on coving?
The best paint for coving is a high-quality, water-based paint. A matt emulsion is the most popular and recommended choice as its flat, non-reflective finish is excellent at hiding minor imperfections. For a slightly more washable and highly durable finish, an eggshell paint with its very subtle sheen is also a great option.
Should you paint coving with a brush or roller?
You should paint the coving with a brush. A brush, particularly a 1.5 to 2-inch angled sash brush, gives you the necessary control to navigate the curves and details of the coving and to achieve neat lines against the wall and ceiling. A roller is generally too clumsy for this task and is only suitable for very wide, completely flat coving profiles.
Do I need to sand coving before painting?
Not always. Sanding is only necessary in specific situations. You will need to sand any areas you have filled with caulk or filler to create a smooth finish. It is also a good idea to lightly sand old coving if it has a previous coat of high sheen paint, as this will help the new coat of paint to adhere properly. For standard painting coving that is in good condition with a matt finish, sanding is not usually required.
How to paint old coving?
To paint the coving that is old, the key is thorough preparation. Start by cleaning it meticulously with a sugar soap solution to remove years of accumulated grime. Inspect it carefully for any cracks or damage and repair these with a suitable filler, sanding the repairs smooth once dry. If the damage is extensive or the coving is a valuable period feature, professional coving restoration in London is recommended to preserve its integrity. If the old coving has stains (e.g., from water or nicotine), apply a stain-blocking primer first. After preparation, the painting process is the same: apply two coats of your chosen emulsion for a fresh, updated look that will last.

